Let's get onboarded
In order to get started on the Kennedy Network, we need to get a few things set up for you. We’ve developed a package that tries to take the manual steps out of this for you. Follow the instructions below and you should be up and running in no time:
- 1)
Select the Kennedy Setup icon - the package will be downloaded by your web browser, and needs to be kept/run. 

- 2) Install Microsoft Teams package
 Windows installer 2025")
- 3) Install Microsoft OneDrive package (Mac OSX only)
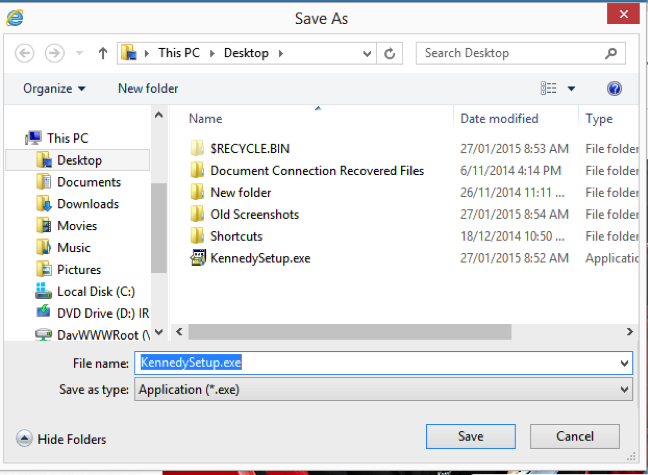
- 3) Navigate to your desktop and select “Save”
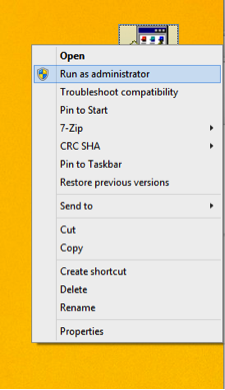
- 4) Minimise your other windows until you get to the desktop, and you should now see the “KennedySetup.exe” program

- 5) Right click on the package and select “Run as Administrator”
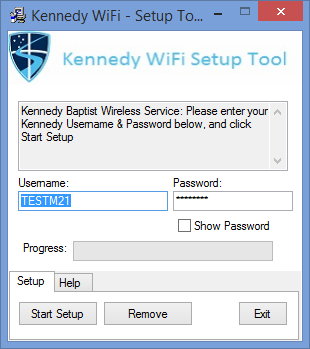
- 6) Enter your Kennedy username and password into the Kennedy WiFi Setup tool. Select “Setup Complete”, select Exit.
Several shortcuts will be added to your desktop.
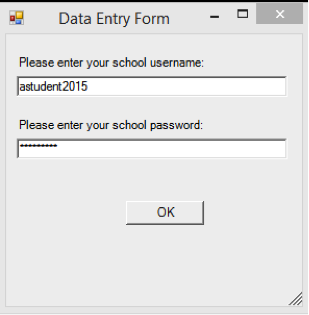
- 7) A form will request your Kennedy credentials again to connect network drives
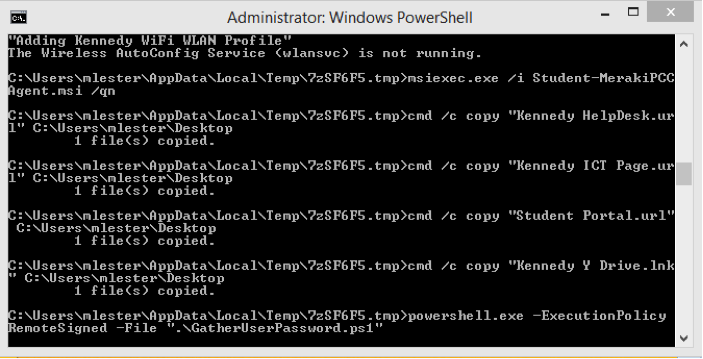
A command window will appear and run through a number of steps – you must leave this open and let it finish
- 8) You should see now the screen below. Click on Finish
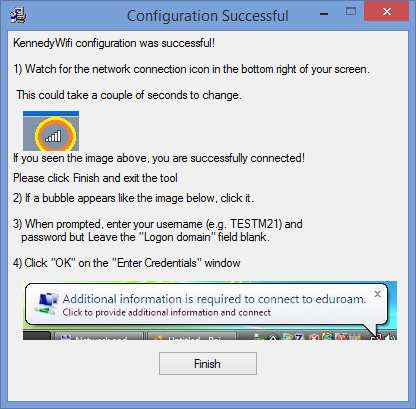
- 9) A command window will appear and run through a number of steps – you must leave this open and let it finish
- 10) Make sure you are connected to the wireles. You will be prompted with a small dialog box (Image below) to enter your Kennedy username and password.
- 11) The command window should disappear, and you will now have some new shortcuts on your desktop, that you can use to get to important Kennedy Sites

- 12) You will also now have a link to your Y Drive and your Home Drive under “My Computer.” If you like, you can right click on these and say Add to Favourites to get to them more easily